Wednesday, September 28, 2011

Parts of the House

Here's an easy project for the students to practice the parts of the house.

1. Fold an A4 sheet in half.


2. Crease the center of the fold.


3. Fold the left and the right parts to the center.


4. Open the fold.


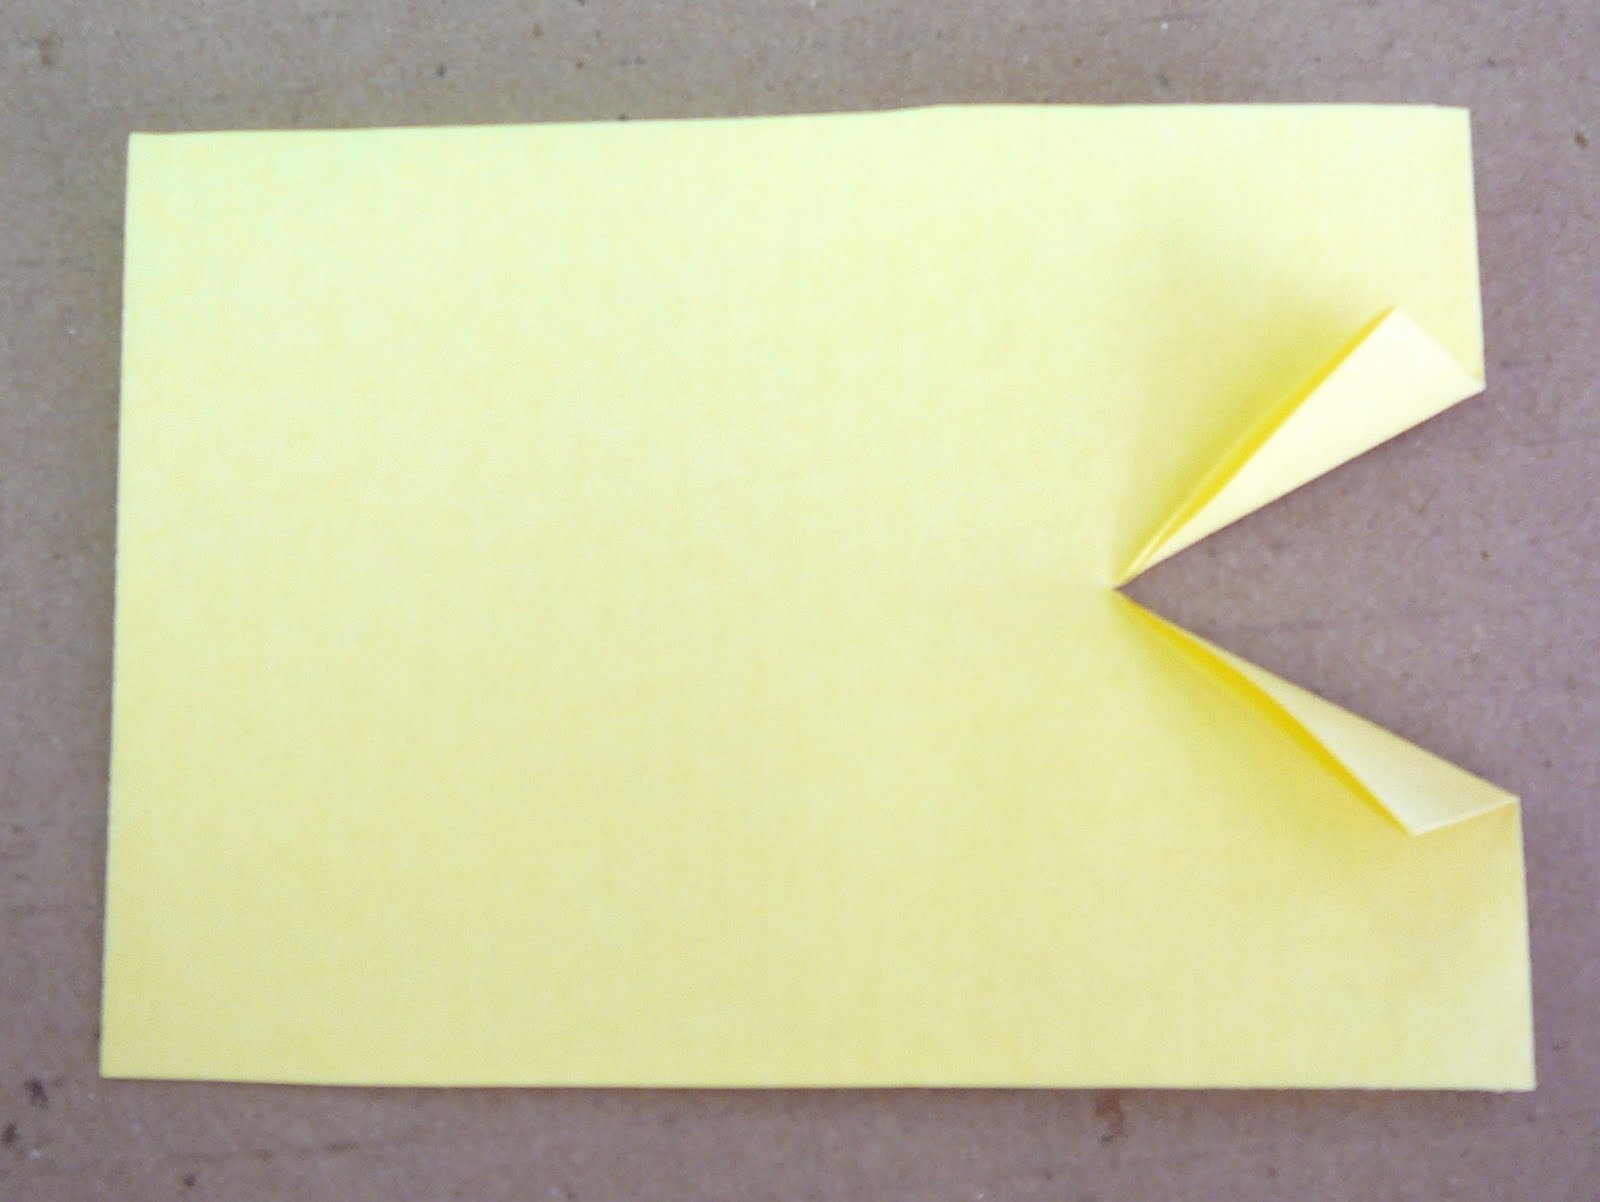
5. Press the corners to form a triangle on each side.


6. Tell the students to draw the rooms in the house on the front ...


7. ... and inside it.


8. Have them label the parts of the house.


Friday, September 23, 2011

Wheel Book - Opposites

My group is going to start working with opposites. This wheel book technique is a great way for them to identify the new vocab. Here are the instructions.
1. Cut two circles out of cardstock.

2. Make a template to mark the slits and the center on one of the circles to help you make all the other circles for your students.

3. Cut the two slits and fold them to the back of the circle.

4. Use a large needle to make a hole in the center of the two circles.

5. Use a brad to secure both circles, keeping the one with slits on top.

6. Students write the opposite words, moving the top circle clockwise.
They write the title and the author's name on the top circle.
Have them stand up and walk around, asking their peers what the opposite words are.


My students carried out this task listening to Waka, Waka. As I paused the song, they asked the peer next to them: What's the opposite of ... ? It was hard to change the activity, for they had lots of fun.


Here are some of their projects.


Mini-Dictionary

Each student has a mini-dictionary to record the new words as we finish a unit.
We stamped the pages after we put them together. The students love keeping record of the new words this way.


Washing Line

Each student received an item of clothing to color. The helper of the day helped me staple each item to a piece of thread as students, in turn, came to the front, identified the peer, and said what color his / her item was.


Magazine Cut-outs for Clothes

I cut some pictures of people out of magazines and glued them on sheets of paper for the students to write the color of the depicted clothes, practicing the use of his and her, singular and plural, clothes-related vocabulary, and colors. His T-shirt is green. Her shorts are blue.


Happy Birthday! Here's Your Gift.

In our lesson, we talked about toys and birthdays. The students made this card which illustrated two toys they chose to give to a peer and helped them act out a dialogue: Happy birthday! Here are your gifts. Thanks.
After that, they wrote a thank-you letter to their respective peers. They had a lot of fun.


Step Book - What I Like and Don't Like for Different Meals

Here are the Step Book projects my students developed to write about what they like and don't like for different meals - breakfast, lunch, or dinner.


Wednesday, August 24, 2011

Play-Dough Food

The students loved using play-dough to make their favorite food items. It was a very fast activity, in which I handed out a small piece of colored dough for them to mold their food and write it on a piece of paper. Next class, peers will interview each student about it.


Food Categories - Where do fruit and vegetables grow? - Pop-Up Book

Using the pop-up book is an involving way for the students to classify different food items: Do they grow on trees, on plants, or underground? We used one page for each category.


Here are the steps for a dimensional effect on the project:

1. For each page, fold an A5 sheet of paper in half and cut slits down from the fold. Narrow slits for the tree and wide slits for the plant / underground.

2. Push the cut area through the fold and crease it to form a pop-up section.

3. Glue the 3 pages back to back.

4. Label the pictures.

5. Glue a cover to the pop-up book and write the title and the author's name.


Friday, August 19, 2011

Food - Step Book

This is the project my group is going to develop to write about the food they like and don't like for different meals. They'll choose among breakfast, lunch, or dinner.

1. For each student, 2 A4 sheets cut in half. They receive 4 A5 sheets.


2. Place the four sheets of paper on top of one another, overlapping the ends.


3. Hold the pages together and fold them over to create more overlapping pages. Staple it.


4. Write the book title on the top page (students choose one mealtime: breakfast, lunch, or dinner), write the sentences - I like ... / I don't like ... , and draw the respective food item on each succeeding page.
Here's the sample the students will be exposed to:


Monday, August 8, 2011

Stand-up Animals


This is the project my group developed after we talked about pets and zoo animals. It focused on the animals they can usually see at the zoo.
First I set five minutes for them to color the pictures. Then five more minutes for them to cut out the animals and glue them to the cages they wanted. Finally, they wrote the animal words on the respective signs, read the words for me individually, and taped their projects to the wall.

Here are their projects.


Animal Pop-Up Cards

My group made this pop-up card to illustrate the pets they have or would like to have. It gave a dimensional effect to the project. 

Here are the directions:

1. Fold two pieces of paper in half. Put one aside.Starting at the folded edge, cut a line. The longer the line, the bigger the mouth.


2. Fold back the flaps to form two triangles.


 3. Open the flaps again. Open the whole page.

Put your finger on the top triangle and push down. Pinch the two folded edges of the top triangle, so that the triangle is pushed through to the other side of the paper.

Put your finger on the bottom triangle and do the same thing. The top and bottom triangles will now be pushed out to form a mouth inside the card. When you open and close your card, the mouth will look like it is talking. When your card is closed it will look like this:


4. Glue the inside and outside cards together. Do not apply glue in the area of the pop-up mouth. You now have a cover for your card.


5. Draw an animal around your mouth.

Here's an example of a frog.


And here's an example of a dog. Following the content covered in the lesson, the students wrote, e.g. I have a dog. I don't have a cat.


Here are some samples you can show to your students to model the project.


Here are the students' projects: